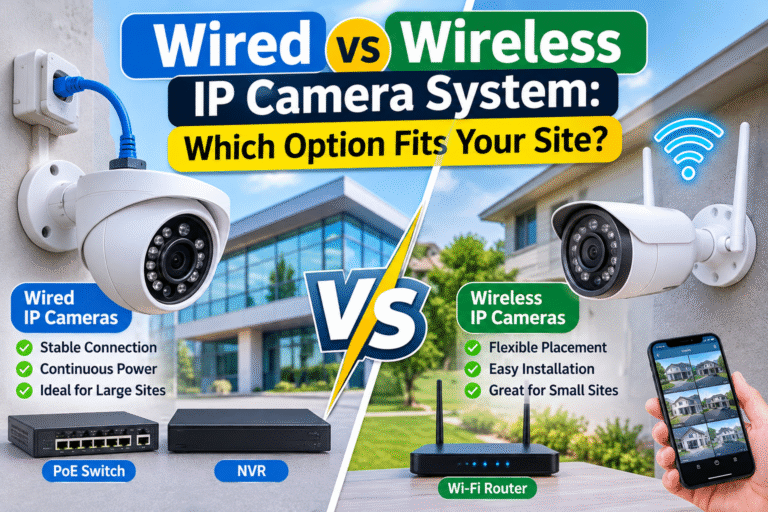
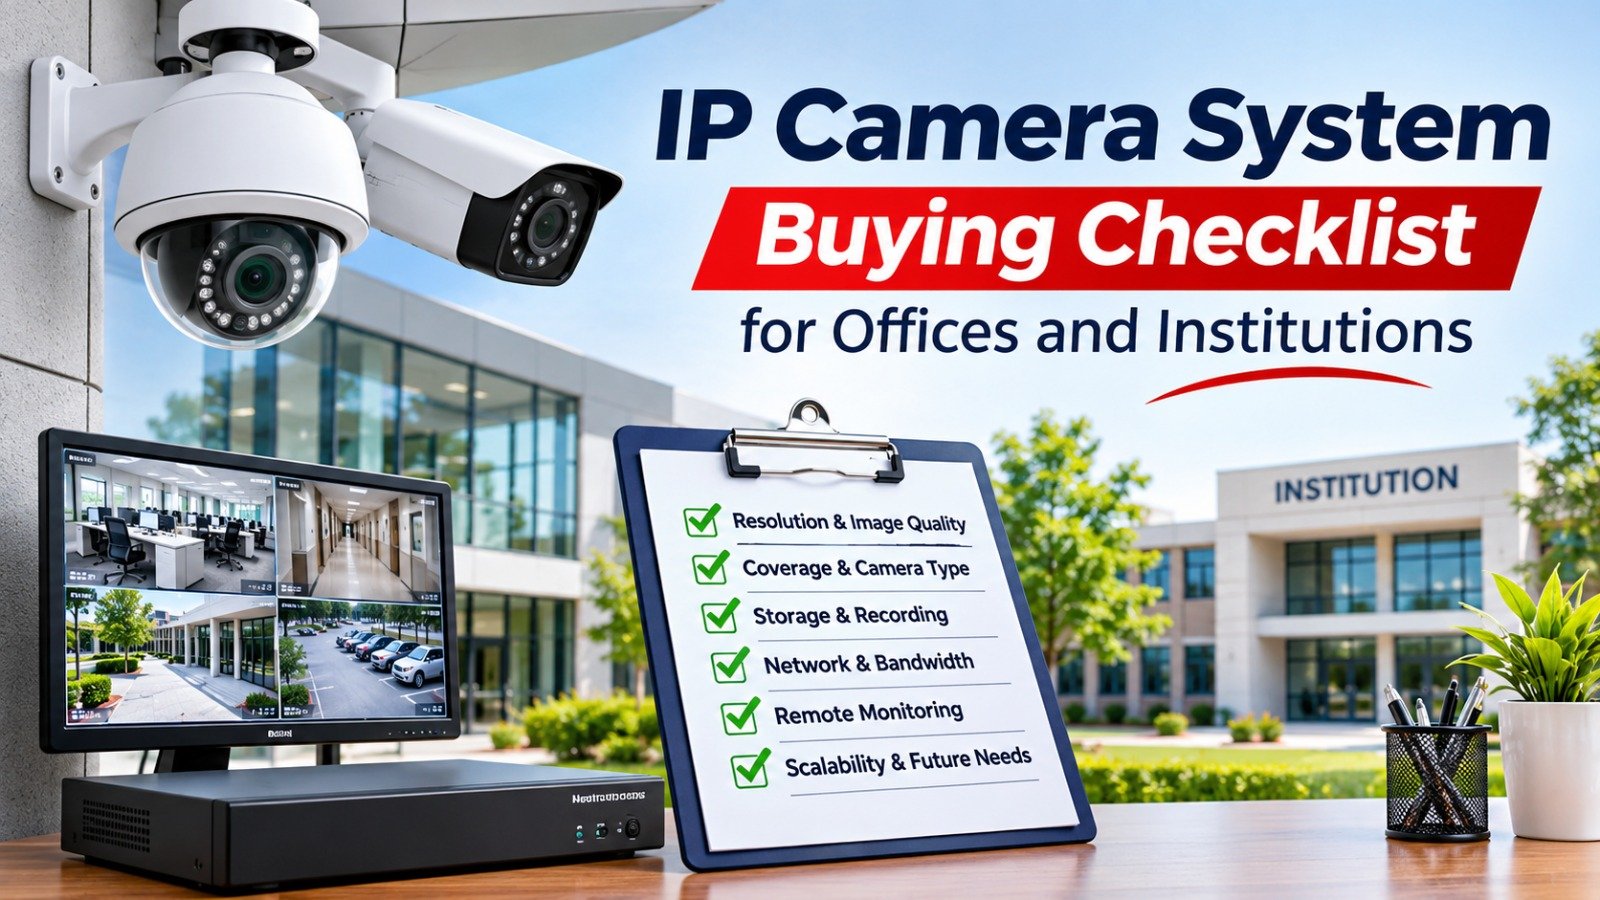
IP Camera System Buying Checklist for Offices and Institutions
Security is an important priority for offices, schools, colleges, hospitals, universities, government buildings, and other institutions. A reliable surveillance system helps security teams monitor entrances, protect valuable equipment, review incidents, and improve visibility across the premises. However, choosing the right cameras requires more than comparing prices or selecting the highest resolution available.
An Internet Protocol (IP) camera captures video and transmits it over a network, allowing authorized users to view footage through compatible software, a network video recorder (NVR), or a supported remote-access platform. Depending on the equipment, the system may also offer motion detection, night vision, video analytics, mobile monitoring, and integration with access-control systems.
Before requesting a quotation, buyers should identify their security requirements, inspect the building layout, estimate storage needs, and confirm that the proposed equipment will work with the existing network. This approach helps organizations avoid unnecessary costs and choose a solution that can grow with their needs.
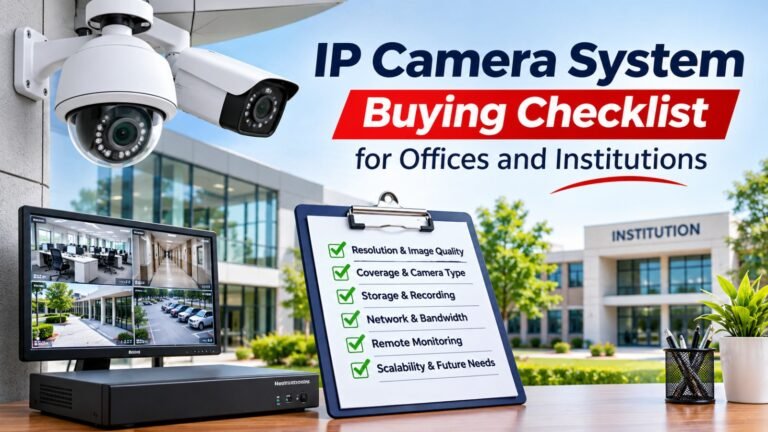
This IP camera system buying checklist explains the essential features, technical specifications, installation requirements, cybersecurity considerations, and supplier questions that offices and institutions should review before making a purchase.
1. Identify Your Security Requirements
The first step is to determine what the surveillance system must accomplish. Different institutions have different security priorities, so there is no single camera configuration suitable for every building.
For example, a corporate office may need to monitor reception areas, corridors, parking facilities, server rooms, and emergency exits. A school may prioritize entrances, hallways, playgrounds, and perimeter areas. A hospital may require coverage of public entrances, pharmacy access points, equipment storage, and service corridors.
Prepare a list of security objectives before selecting the hardware.
Consider the following questions:
- Which locations require continuous monitoring?
- Are you trying to identify people, observe general activity, or monitor specific processes?
- Do you need live viewing, recorded evidence, or both?
- How many staff members require authorized access to the system?
- Will the system operate across one building or several locations?
- How long must recordings be retained?
- Does the installation need to integrate with existing security equipment?
Documenting these requirements helps your supplier recommend appropriate cameras, recording equipment, storage capacity, and network infrastructure.
It also prevents organizations from buying features that offer little practical value to their actual security objectives.
2. Conduct a Site Survey Before Buying
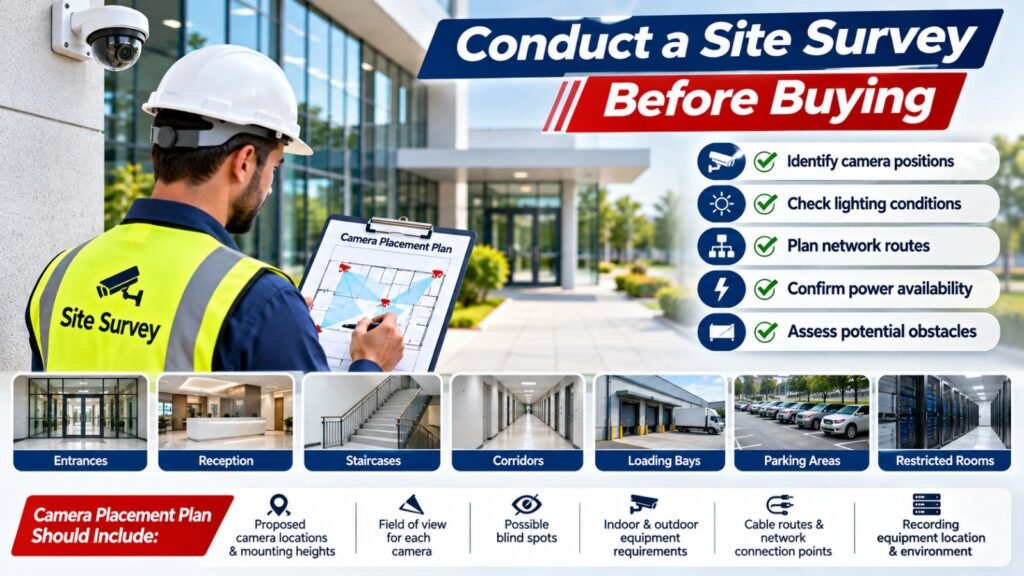
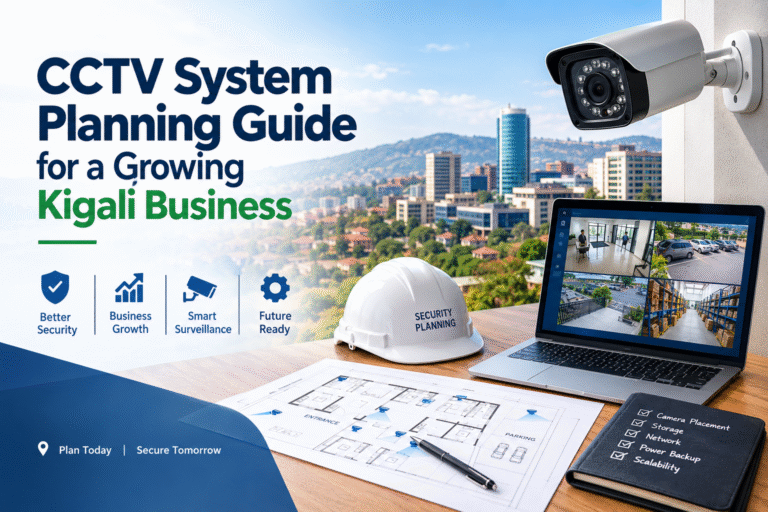
A site survey helps identify camera positions, lighting conditions, network routes, power availability, and potential obstacles before installation begins.
The survey should cover indoor and outdoor locations, including entrances, reception desks, staircases, corridors, loading bays, parking areas, and restricted-access rooms.
Pay attention to walls, pillars, glass surfaces, bright windows, and other objects that may obstruct the camera’s view. A camera with excellent specifications cannot provide useful evidence if its field of view is poorly positioned.
Ask the installer to prepare a camera placement plan showing:
- Proposed camera locations and mounting heights.
- The approximate field of view for each camera.
- Areas that may have blind spots.
- Indoor and outdoor equipment requirements.
- Cable routes and network connection points.
- Recording equipment location and environmental requirements.
Where identification is important, request sample images or a demonstration from the proposed mounting position. This makes it easier to judge whether the camera will capture useful details rather than simply produce a wide overview.
A documented survey also gives procurement teams a clearer basis for comparing quotations from different suppliers.
3. Select the Correct Camera Type
IP cameras are available in several physical designs. Each design offers advantages for particular environments.
Dome cameras
Dome cameras are commonly used in offices, reception areas, classrooms, retail environments, and corridors. Their compact appearance makes them suitable for many indoor installations.
Before selecting a dome camera, check its viewing angle, mounting requirements, low-light performance, and suitability for the intended location.
Bullet cameras
Bullet cameras are often suitable for building exteriors, perimeter walls, parking areas, and loading zones. Their directional design makes it easier to aim the camera toward a specific area.
For outdoor installations, confirm that the model provides appropriate protection against dust, water, temperature changes, and other environmental conditions.
Turret cameras
Turret cameras are frequently used for indoor and outdoor surveillance. Depending on the model, they can offer useful low-light performance and flexible positioning.
They may be appropriate for entrances, corridors, yards, and general building surveillance.
PTZ cameras
Pan-tilt-zoom cameras allow authorized operators to move the camera and adjust its zoom remotely. They can be useful for large parking facilities, campuses, warehouses, and open outdoor spaces.
However, a PTZ camera cannot observe every direction simultaneously. If continuous coverage of several areas is essential, fixed cameras may still be necessary.
Choose each camera type according to the required coverage rather than selecting one design for the entire property without assessing the site.
4. Check Resolution and Image Quality
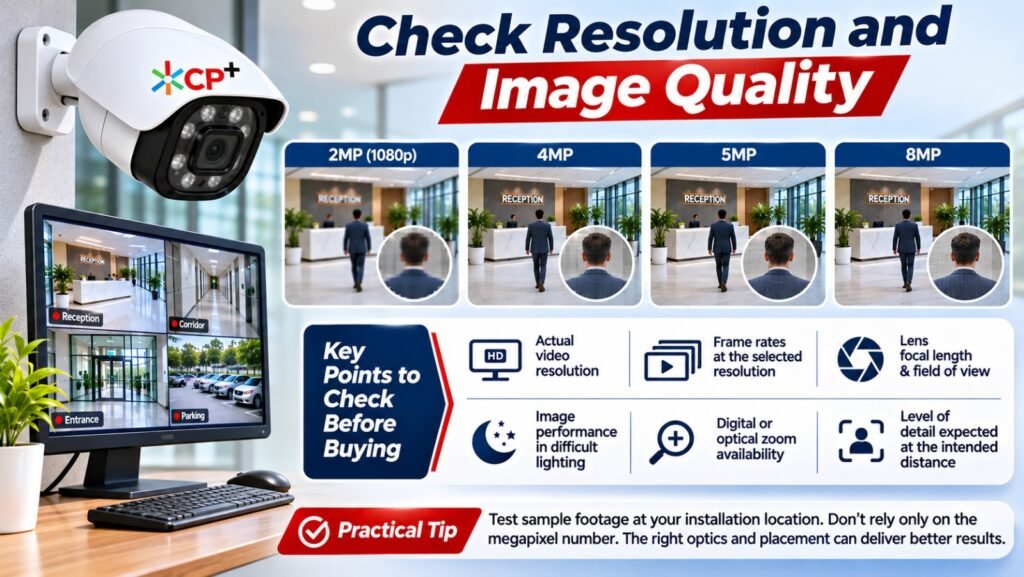
Resolution affects the amount of detail captured by a camera. Common options include 2MP, 4MP, 5MP, and 8MP, although availability varies by manufacturer and product range.
A higher resolution can help capture finer details, but it does not automatically guarantee better surveillance results. Lens quality, sensor performance, lighting, compression, network conditions, and camera placement also affect the final image.
For example, a reception desk may require sufficient detail to recognize visitors, while a large outdoor area may need a different combination of resolution, lens selection, and viewing distance.
Before purchasing, ask the supplier to explain:
- The camera’s actual video resolution.
- Available frame rates at the selected resolution.
- Lens focal length and field of view.
- Image performance in difficult lighting.
- Whether digital or optical zoom is provided.
- The level of detail expected at the intended distance.
Whenever possible, test sample footage at the planned installation location.
Do not rely solely on marketing images or the number of megapixels printed on the product specification sheet. A properly positioned camera with suitable optics may deliver more useful evidence than a higher-resolution camera installed incorrectly.
5. Evaluate Night Vision and Low-Light Performance
Many security incidents occur outside normal office hours. For this reason, nighttime performance is an important part of any surveillance assessment.
Some cameras use infrared (IR) illumination to produce monochrome footage in darkness. Others use low-light sensors, white-light illumination, or colour-night-vision technologies.
The right choice depends on the environment and the type of evidence required.
Check the following specifications:
- Minimum illumination rating, where provided.
- Infrared illumination range.
- Performance in complete darkness.
- Ability to manage bright headlights or entrance lighting.
- Availability of colour footage at night.
- White-light illumination and its effect on nearby occupants.
An advertised IR range should not be treated as a guarantee that faces or other details will be identifiable at the same distance. Actual results depend on scene conditions, lens selection, subject movement, and reflective surfaces.
For an office entrance or institutional gate, ask the supplier to demonstrate how the camera performs when a person approaches at night. Test the view with realistic lighting conditions rather than relying on a daytime demonstration.
6. Review the Field of View and Lens Options
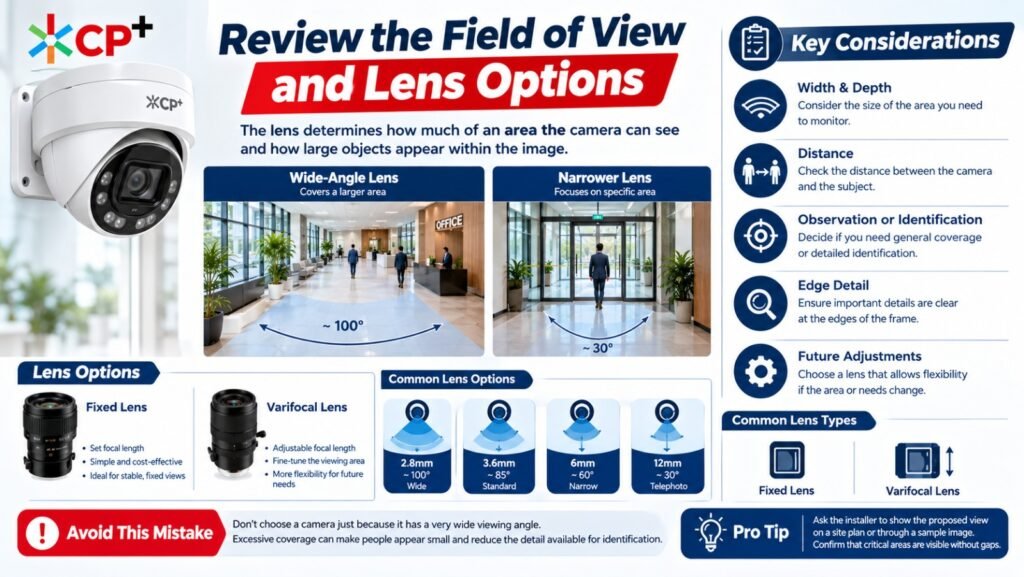
The lens determines how much of an area the camera can see and how large objects appear within the image.
A wide-angle lens can cover a broad corridor or room, while a narrower lens may be more appropriate when detailed observation of a specific entrance or access point is required.
Common lens options include fixed lenses and varifocal lenses. A varifocal lens allows adjustment of the focal length within its supported range, making it easier to fine-tune the viewing area.
When assessing the lens, consider:
- The width and depth of the monitored area.
- The distance between the camera and the subject.
- Whether the objective is general observation or identification.
- The amount of detail required at the edges of the image.
- Whether future adjustments may be needed.
Avoid choosing a camera solely because it has a very wide viewing angle. Excessive coverage can make people appear small and reduce the detail available for identification.
Ask the installer to demonstrate the proposed view on a site plan or through a sample image. Confirm that critical areas are visible without unnecessary gaps.
7. Confirm Outdoor Protection and Environmental Suitability
Outdoor cameras may be exposed to rain, dust, heat, humidity, sunlight, and physical interference. Equipment installed in warehouses or industrial environments may also face vibration, airborne particles, or other site-specific conditions.
Check the manufacturer’s environmental ratings before approving the equipment.
An Ingress Protection (IP) rating indicates the level of protection provided by an enclosure against solid particles and water under defined testing conditions. For example, IP66-rated equipment is designed to provide dust-tight protection and withstand specified powerful water jets.
However, an IP rating does not automatically prove resistance to impact, corrosion, extreme temperatures, or every possible installation condition. These requirements should be checked separately.
For outdoor and semi-outdoor cameras, review:
- The specified operating temperature range.
- Dust and water protection.
- Corrosion resistance where relevant.
- Impact protection if vandalism is a concern.
- Suitable mounting brackets and weatherproof connections.
- Protection for exposed cables and network equipment.
Read the manufacturer’s documentation carefully and select equipment appropriate for the actual site. Correct installation is equally important because poorly sealed connectors or unsuitable mounting arrangements can undermine the protection provided by the camera enclosure.
8. Check Network Connectivity and Power Requirements
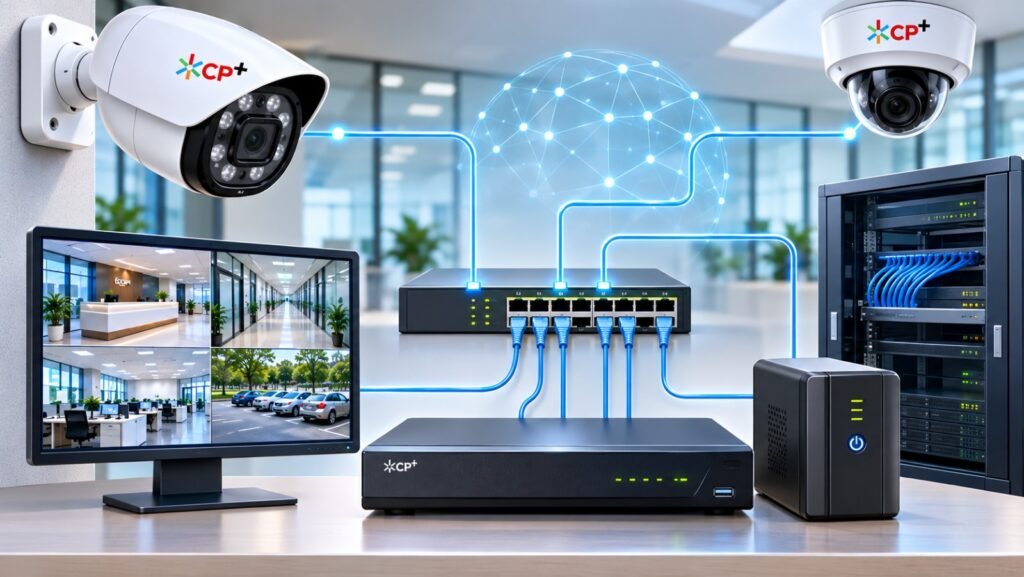
IP cameras depend on reliable network connectivity. Poor network design can cause delayed viewing, interrupted recordings, reduced video quality, or connection failures.
Before purchasing, confirm that the existing network can support the proposed number of cameras and their expected video traffic.
Important network considerations include:
- Available Ethernet ports and switch capacity.
- Network bandwidth for simultaneous camera streams.
- Cable distances and the need for additional network equipment.
- Separation of surveillance traffic from ordinary office traffic.
- Network equipment location and environmental conditions.
- Internet availability for supported remote-access features.
Many IP cameras support Power over Ethernet (PoE), which can carry both network data and electrical power over a compatible Ethernet cable. This can simplify installation and reduce the need for separate power supplies at every camera.
However, verify the PoE standard supported by each device, the switch’s available power budget, and the requirements of any higher-power cameras.
Also consider what happens during a power interruption. A backup power supply or uninterruptible power supply (UPS) may help keep the network switches, NVR, and other essential equipment running during short outages, provided its capacity is sufficient.
Do not assume that an internet connection alone is enough to make a surveillance system reliable. Local network design and power protection are essential parts of the installation.
9. Choose a Suitable NVR and Recording Method
A network video recorder (NVR) commonly manages and records footage from compatible IP cameras. It may also provide playback, user management, motion-event searches, and remote viewing features.
Some cameras support local memory cards, while other deployments use server-based, network-attached, or cloud storage. The appropriate arrangement depends on the organization’s security, operational, and retention requirements.
When comparing NVRs, check:
- The supported number of cameras.
- Maximum incoming bandwidth.
- Supported recording resolutions and frame rates.
- Compatibility with the proposed cameras.
- The number of storage bays.
- Available playback and export functions.
- Remote-access and user-management capabilities.
- Backup and recovery options.
Avoid selecting an NVR based only on its advertised camera channel count. A recorder may support a certain number of cameras but still have bandwidth limitations that affect the streams it can record simultaneously.
If the organization expects to expand, consider whether the recorder and network can accommodate additional cameras without requiring a complete replacement.
For institutions with several buildings, discuss whether centralized monitoring or separate local recording at each site would better meet operational requirements.
10. Calculate Storage Capacity and Retention
Storage requirements depend on the number of cameras, video bitrate, recording schedule, compression settings, frame rate, resolution, and required retention period.
Continuous recording generally uses more storage than event-based recording when the latter captures significantly less footage. However, motion-based recording must be configured carefully to avoid missing relevant activity.
A practical estimate can be calculated using the total recording bitrate.
For example, assuming a camera records continuously at an average bitrate of 4 Mbps:
- 4 Mbps is approximately 0.5 megabytes per second.
- This is approximately 43.2 GB of video per day using decimal storage units.
- Seven days of continuous recording would require approximately 302.4 GB for one camera before allowing for overhead and operational considerations.
Actual usage varies with video complexity, compression, settings, and manufacturer implementation. For a multi-camera installation, calculate the expected demand across all cameras, then include an appropriate capacity margin.
Ask the supplier to document the assumptions behind the proposed storage capacity. Confirm whether the quotation includes the required surveillance-rated drives, recording configuration, and any redundancy or backup arrangements.
Where footage may be required for investigations, establish a retention policy that meets operational needs and applicable legal requirements without keeping recordings indefinitely by default.
11. Verify Compatibility and ONVIF Support
Organizations sometimes replace cameras, upgrade recorders, or combine equipment from different manufacturers. Compatibility should therefore be assessed before procurement.
ONVIF provides standardized interfaces intended to support interoperability among compatible IP-based physical security products. However, compatibility should not be assumed merely because two devices display an ONVIF logo or claim general ONVIF support.
Review the relevant profiles and confirm that the exact camera and recorder models are listed as conformant where applicable.
The official ONVIF Profiles and Add-ons directory explains the standards and their supported features.
Ask the supplier to confirm:
- Whether the camera and NVR are compatible.
- Which ONVIF profiles are supported by each device.
- Whether recording, playback, motion events, audio, and analytics work across the proposed combination.
- Whether any important features require proprietary software.
- Whether firmware updates could affect compatibility.
Request a written compatibility confirmation for the complete proposed system. This is especially important when an institution already owns surveillance equipment and wants to expand rather than replace it.
12. Prioritize Cybersecurity and Access Control
Network cameras are connected devices, so their security should be included in the organization’s IT planning. Poorly protected devices can expose video feeds, create unauthorized access opportunities, or introduce risks to connected networks.
The National Institute of Standards and Technology (NIST) IoT cybersecurity guidance discusses how organizations can identify security requirements when acquiring connected devices.
Before approving a camera system, check whether it supports appropriate security controls, including:
- Unique credentials and secure account configuration.
- Strong authentication and role-based permissions.
- Secure communication and encryption where supported.
- Firmware updates and a clear update policy.
- Logging of important access and configuration events.
- Disabling unused services and unnecessary remote access.
- Secure remote viewing through approved methods.
- A documented process for vulnerabilities and technical support.
Change default passwords during commissioning and avoid exposing cameras or recorders directly to the public internet without a properly assessed security design.
Where possible, place surveillance equipment on a dedicated network or VLAN and restrict access to authorized devices and users.
Ask who is responsible for firmware maintenance, how long the manufacturer expects to support the equipment, and what happens when the product reaches end of life.
Cybersecurity is not a one-time installation task. It requires ongoing maintenance, controlled access, and periodic reviews.
13. Review Video Analytics and Smart Features
Modern IP cameras may provide features such as line-crossing detection, intrusion detection, people counting, object classification, or alerts for specific events.
These capabilities can help security staff prioritize important activity and reduce the time spent reviewing routine footage.
However, analytics performance varies between products and environments. Lighting, camera angle, image quality, weather, and movement can affect detection accuracy.
Before paying extra for advanced features, identify the actual operational need.
For example, a school may require alerts when someone enters a restricted area after hours. A warehouse may need notifications when a designated loading zone is accessed outside approved times.
Ask the supplier to demonstrate the required feature in a realistic environment. Confirm whether analytics run directly on the camera, on the NVR, or through additional software.
Also ask about licensing, alert configuration, false alarms, and the ability to export event footage.
Advanced analytics should support a defined security objective rather than be purchased simply because the feature appears on a product brochure.
14. Assess Privacy and Institutional Requirements
Surveillance systems should be designed to meet legitimate security objectives while respecting the privacy of employees, students, patients, visitors, and other individuals.
Before installation, establish where cameras are necessary, who may access footage, how recordings will be retained, and under what circumstances footage can be reviewed or shared.
Consider the following practices:
- Position cameras to monitor relevant security areas.
- Avoid unnecessary recording of private spaces.
- Restrict access to authorized personnel.
- Document the purpose of recording and retention periods.
- Provide notices where required by applicable law.
- Review audio recording and advanced analytics separately.
- Establish a procedure for handling requests for recorded footage.
Institutions may face different legal and regulatory obligations depending on their location and sector. Schools, hospitals, government facilities, and private businesses should seek appropriate guidance for their circumstances.
Privacy requirements should be addressed during system design rather than left until after the cameras have been installed.
15. Compare the Total Cost of Ownership
The lowest initial quotation is not always the most economical option over the system’s useful life.
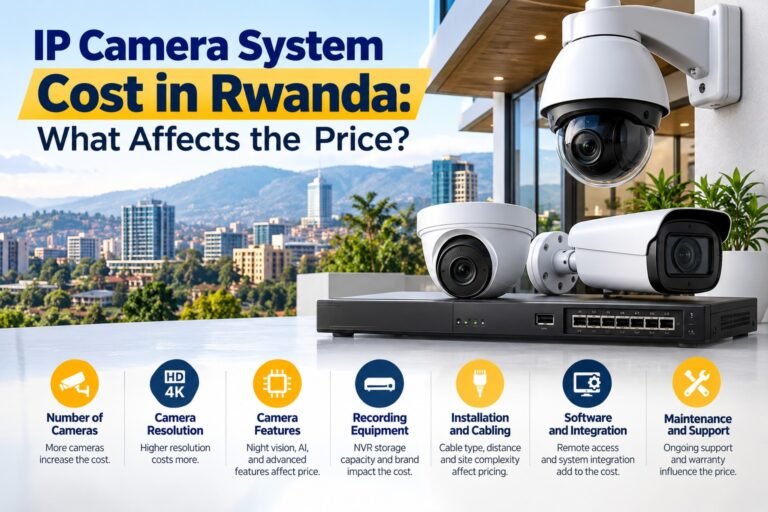
The total cost of ownership may include cameras, NVRs, hard drives, PoE switches, cabling, mounting hardware, installation, configuration, software licensing, training, maintenance, and future upgrades.
Some systems also require recurring cloud subscriptions or paid analytics features. These costs should be disclosed before procurement.
When comparing quotations, review:
- The exact make and model of every major component.
- The number and type of cameras included.
- Storage capacity and estimated retention.
- Installation and commissioning charges.
- Software and subscription fees.
- Warranty coverage and exclusions.
- Maintenance and technical support arrangements.
- Expected expansion costs.
Compare equivalent configurations rather than comparing only the total price. A cheaper quotation may include lower-capacity storage, fewer accessories, limited support, or different camera specifications.
Request an itemized quotation so that the organization can identify missing components and make an informed decision.
16. Check Warranty, Maintenance, and Supplier Support
A surveillance system requires maintenance to remain dependable. Cameras may need cleaning, storage drives may need replacement, firmware may require updates, and network settings may change over time.
Before purchasing, review the warranty terms and ask what happens if a camera or recorder fails.
Important questions include:
- How long is the hardware warranty?
- Is installation workmanship covered?
- What technical support is available?
- Are replacement devices readily available?
- Does the supplier offer preventive maintenance?
- Are firmware and software updates included?
- What is the expected response time for service requests?
- Will staff receive training on playback and evidence export?
For larger institutions, a documented maintenance agreement can help define responsibilities and reduce uncertainty when faults occur.
Also confirm that the organization will receive administrator access, configuration documentation, device inventories, and any necessary licensing information. These records can be important if the original installer is no longer available.
17. Test the Complete System Before Handover
Commissioning should verify that the installed equipment performs as expected in real operating conditions.
Before signing off on the project, ask the installer to demonstrate live viewing, recording, playback, export, user permissions, and any required analytics.
The handover process should include checks for:
- Correct camera names and locations.
- Adequate image quality during day and night.
- Recording on all intended channels.
- Accurate date, time, and time-zone settings.
- Sufficient storage and configured retention.
- Remote access for authorized users.
- Power recovery and system restart behaviour.
- Alerts, if included in the specification.
- Administrator credentials and user training.
The installer should also provide a camera layout, equipment list, network information appropriate for the organization, warranty details, and a maintenance schedule.
Documenting the handover makes it easier for internal IT teams and security staff to operate and maintain the system.
18. Final IP Camera System Buying Checklist
Use this checklist before approving a purchase order.
- Security objectives and monitoring locations are documented.
- A site survey and camera layout have been completed.
- Camera types, resolution, lenses, and viewing angles are suitable.
- Daytime and nighttime image quality have been assessed.
- Outdoor protection ratings match the environment.
- Network bandwidth and PoE requirements have been calculated.
- The NVR supports the required channels and recording bandwidth.
- Storage capacity meets the intended retention period.
- Camera and recorder compatibility has been verified.
- Cybersecurity controls and firmware support have been reviewed.
- User permissions and privacy requirements are documented.
- Total installation and ongoing costs are clear.
- Warranty, maintenance, and technical support are confirmed.
- Testing, training, and handover documentation are included.
If several items remain unconfirmed, ask the supplier to address them in writing before final approval.
Choosing a suitable surveillance solution requires careful consideration of image quality, camera placement, network performance, recording capacity, cybersecurity, privacy, and ongoing support. Offices and institutions should evaluate the complete system rather than focusing on camera prices or resolution alone.
A structured IP camera system buying checklist makes procurement more transparent, helps teams compare quotations fairly, and reduces the risk of investing in equipment that does not meet real security requirements.
Start with a site survey, define the required coverage, calculate storage and network capacity, and confirm interoperability before selecting the hardware. Then establish clear maintenance responsibilities and test every important function before accepting the installation.
With a well-planned system and a reliable installation partner, an organization can improve surveillance coverage, simplify incident reviews, and build a security infrastructure that can adapt to future requirements.